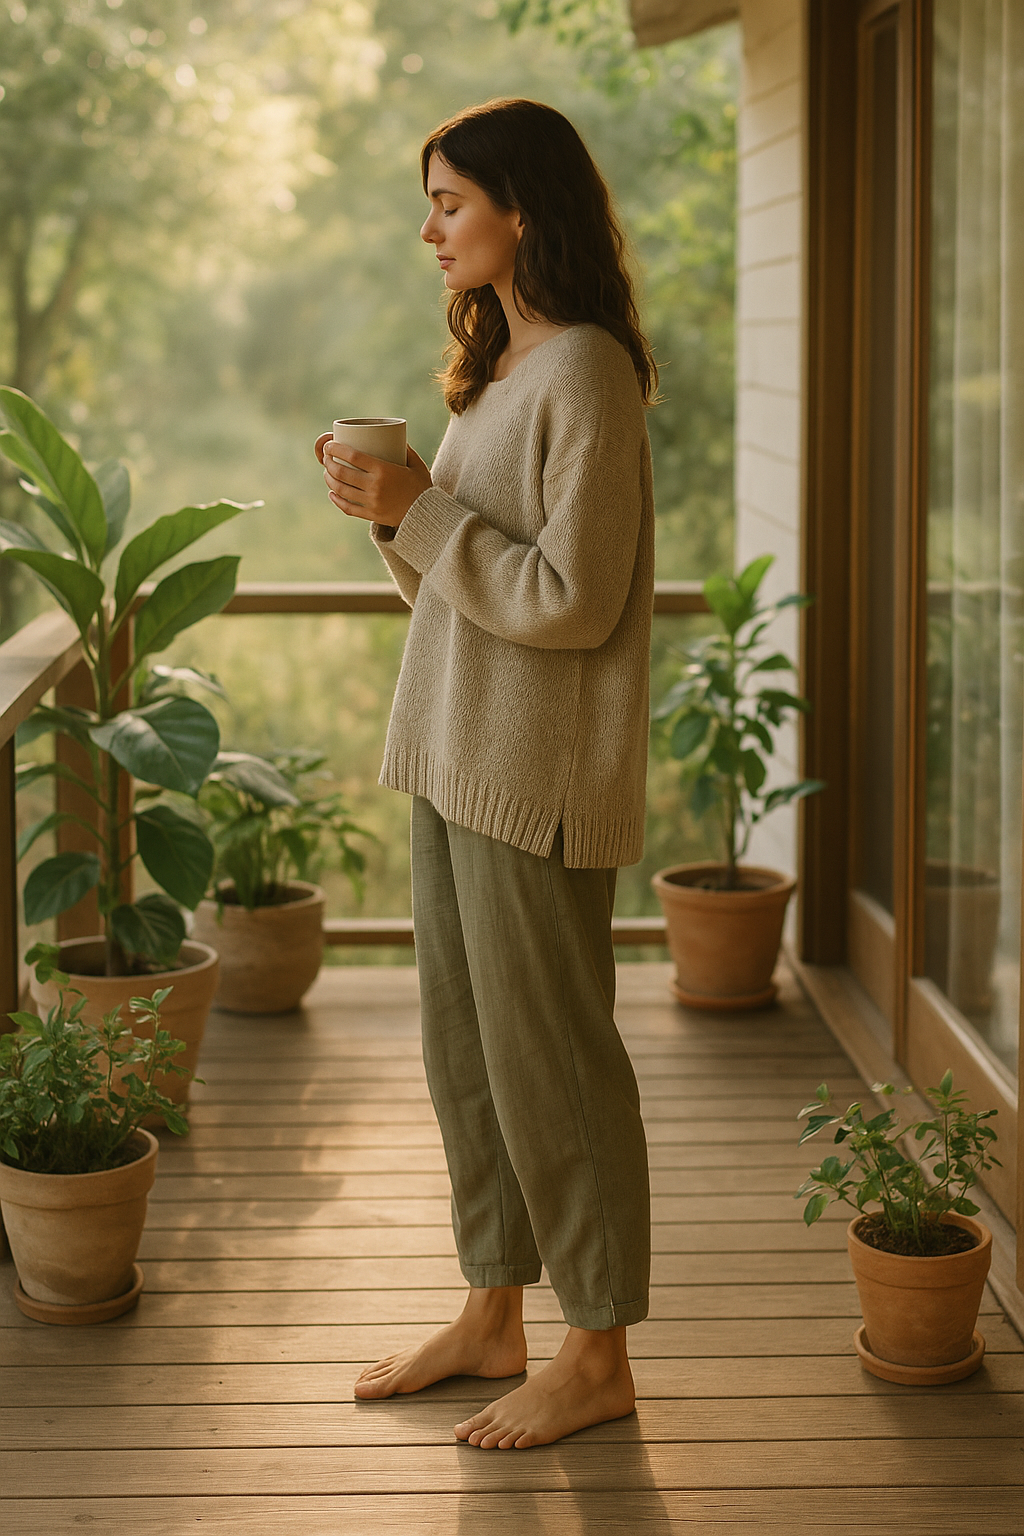
“The first time I bit into lettuce I’d grown from a recycled pallet planter, I felt like I’d discovered a secret door to self-sufficiency—proof that you don’t need space, money, or fancy gear to nourish body and soul.”
If you’ve ever dreamed of plucking juicy cherry tomatoes or snipping fragrant basil right in your own backyard (or balcony), but worried about cost or complexity, this guide is for you. Here, you’ll learn how to start backyard permaculture on a budget, transforming everyday items into thriving micro-ecosystems. No PhD required—just a dash of creativity, a handful of household scraps, and the willingness to get your hands a bit dirty.
By the end of this post, you’ll have:
- Five step-by-step projects you can complete this weekend for under €50 total.
- Quick-win tactics that deliver your first harvest in weeks.
- A soulful narrative, sharing real moments of triumph (and the occasional muddy mishap).
- Tips to save money, time, and the planet—one raindrop and one lettuce leaf at a time.
Ready? Let’s dig in.
Why Backyard Permaculture Matters (and How It Saves You Money)
Permaculture is about designing gardens—and lives—that work with nature, not against it. By mimicking natural systems, you:
- Slash grocery bills, cutting produce costs by up to 30% (even a handful of herbs makes a difference).
- Reduce waste, using rainwater and kitchen scraps instead of store-bought resources.
- Boost well-being: gardening lowers stress and improves mood without a gym membership.
“In my first month, I saved more on home-grown greens than I spent on seeds—and gained a calm morning ritual I now cherish.”
Explore more ways to live mindfully in our Sustainable Living & Travel section.
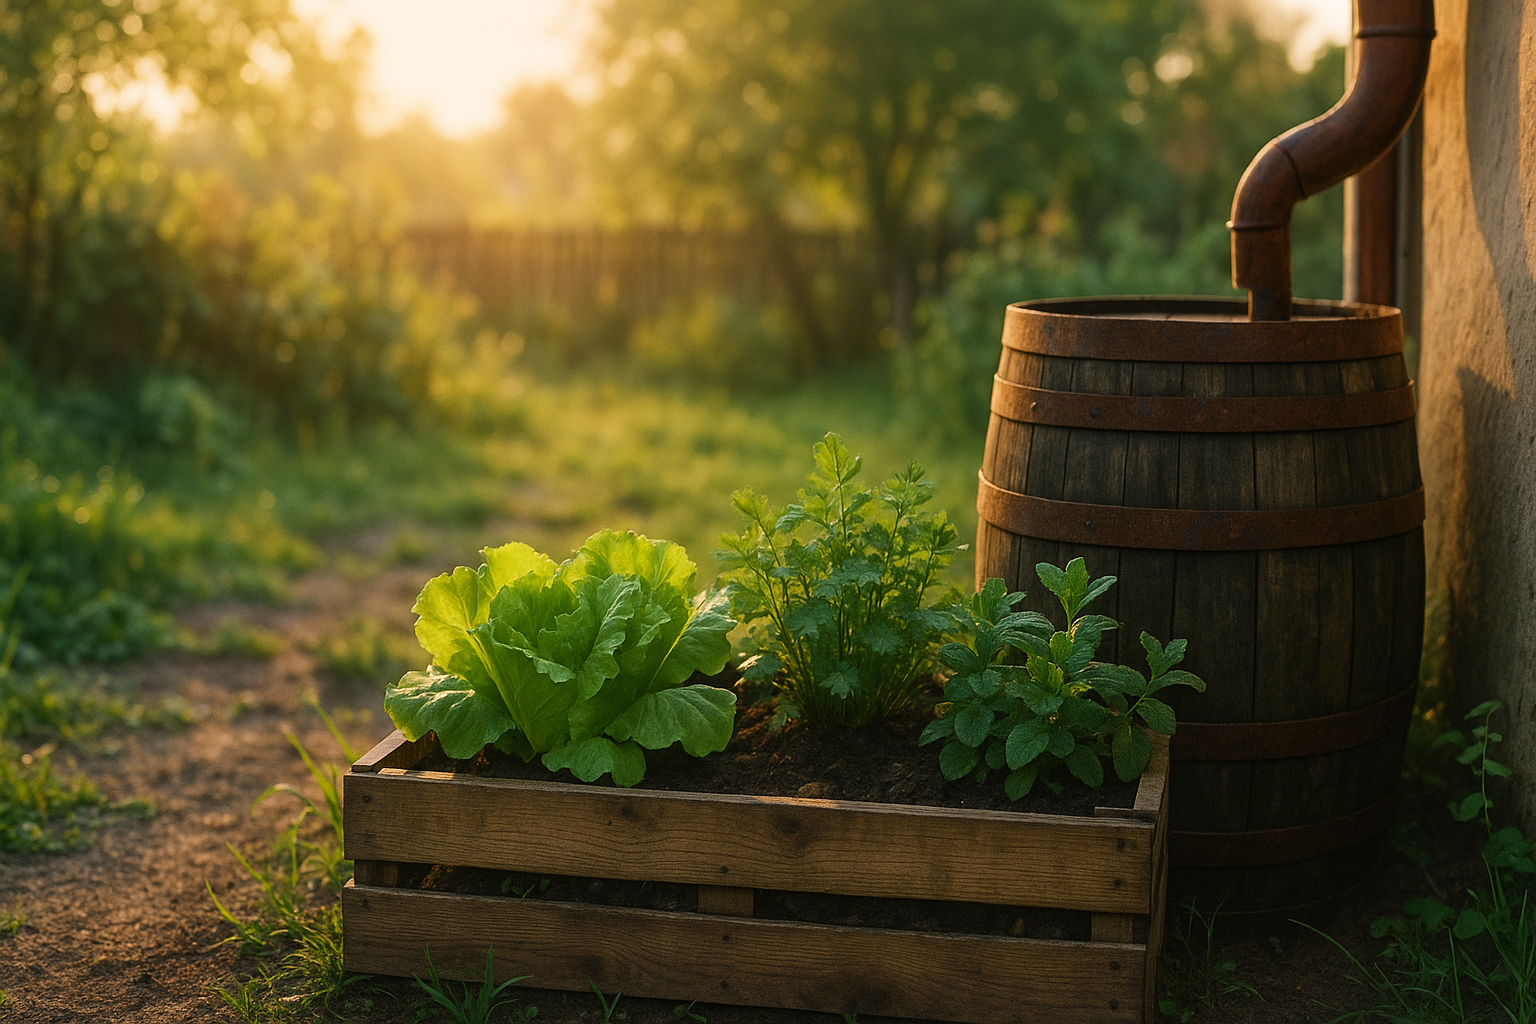
Step 1 – Build a DIY Rainwater Catcher (€0–€10)
Why it matters: Capturing rainwater can reduce tap-water use by 40%²—ideal for watering your permaculture garden for free.
Materials & cost:
- 50 L plastic drum or bucket (often free).
- PVC scraps or old gutter segment (€3–€5).
- Mesh or pantyhose for filtering (free–€2).
How to set it up:
- Position your container under a downspout or roof drip line.
- Attach the diverter: Fit PVC or gutter piece to channel water into the barrel.
- Filter the flow: Secure mesh over the inlet to keep leaves out.
- Elevate & secure: Place on cinder blocks so you can easily fill watering cans.
Story: I scored my drum on a local swap group for free. The first rain collected felt like liquid gold—and took just 10 minutes to rig!
Learn more about small-scale water harvesting at the FAO’s guide.
Step 2 – Cardboard Sheet Mulch for Weed-Free Soil (Free!)
Why it matters: Sheet-mulching builds soil, suppresses weeds, and retains moisture—with materials you already have. A UVM study shows it boosts soil organic matter by 5% in year one³.
Materials & cost:
- Plain cardboard (pizza boxes, delivery boxes).
- Compostable kitchen scraps (vegetable peels, coffee grounds).
- Water.
How to do it:
- Clear the patch: Remove large weeds and debris.
- Lay down cardboard: Overlap edges to cover all exposed soil.
- Add organic layer: Spread 5–10 cm of compost or shredded leaves on top.
- Water thoroughly: This starts the decomposition process.
Quick win: One Saturday, I smothered a weedy corner with old boxes and veggie scraps. By week two, lush soil ready for planting!
For deeper tips on sheet-mulching, see the University of Vermont Extension guide.
Step 3 – Create Pallet & Crate Planters (€5–€20)
Why it matters: Vertical planters save space and reduce back strain. Free pallets and crates can become stylish raised beds.
Materials & cost:
- Wooden pallet or crate (free–€5).
- Landscape fabric or old tarp (€2–€5).
- Soil mix (compost + garden soil or coconut coir) (€10–€15).
How to build:
- Source your wood: Look on Freecycle, local farms, or hardware scrap piles.
- Prep & line: Sand rough edges; line interior with fabric to retain soil.
- Drain & fill: Add a gravel layer, then fill with your soil mix.
- Plant: Sow fast-growing greens like arugula, lettuce, or herbs.
Personal note: My first planter cost just €7 in hooks and fabric—yet I harvested basil, mint, and arugula in four weeks.
Step 4 – Companion-Plant “Guild” Jars Under €5
Why it matters: Companion planting uses natural plant partnerships to deter pests and improve yields, all in movable containers.
Materials & cost:
- Three mason jars or recycled glass bottles (free).
- Pebbles for drainage (free).
- Potting soil (€3–€5).
- Seeds or seedlings (basil + mint + chives mix, under €2).
How to assemble:
- Layer pebbles at the bottom of each jar.
- Add soil, leaving 2 cm below rim.
- Plant your trio: basil, mint, and chives complement each other.
- Rotate weekly for even sun exposure.
Story: When I forgot to water one jar, the mint drooped—but my basil and chives thrived, proving the resilience of a well-designed guild.
Discover core permaculture principles at the Permaculture Research Institute.
Step 5 – Kitchen Scrap Nursery (Free!)
Why it matters: Regrowing scraps slashes seed costs by up to 80%⁴—and watching waste become food is pure joy.
Materials & cost:
- Scraps: lettuce cores, green onion ends, celery bases (free).
- Shallow dish or jar (free).
- Water.
How to regrow:
- Place scraps in a shallow dish, base submerged in water.
- Set in sunlight by a window.
- Transfer to soil once roots appear (5–10 days).
- Harvest & repeat: Clip leaves, let regrowth continue.
Heart moment: I forgot about a celery base on my sill—and returned days later to a tiny jungle of fresh shoots.
From Seedling to Harvest—Track Your Wins
Celebrate every micro-victory:
- Water saved: Compare liters from rainwater vs. tap.
- Weed time reduced: Note hours spent outdoors.
- Yield harvested: Weigh your herbs and greens.
- Mood boost: Journal how each new leaf lifts your spirits.
“By week four, I’d saved €15 in herbs alone—and I felt calmer each morning I spent five minutes in my garden.”
Frequently Asked Questions
Q1: How much space do I need for backyard permaculture?
Even a 1×2 m patch or a few containers works beautifully.
Q2: Can I use tap water instead of rainwater?
Yes—just let it sit overnight to dissipate chlorine, or add a pinch of baking soda.
Q3: Is cardboard safe for sheet-mulching?
Yes—avoid glossy, colored, or heavily printed cardboard. Plain brown corrugated is best.
Q4: Which plants are best for beginners?
Leafy greens (lettuce, spinach), herbs (basil, mint), and green onions are foolproof starters.
Q5: How often should I rotate guild jars?
Rotate every 7–10 days for even sun exposure.